23 Elegant Bun Hairstyles for Women Over 40
Introduction
A good bun solves more mornings than almost any other hairstyle, and these bun hairstyles for women over 40 cover every version worth knowing. From a smooth chignon for a wedding to a soft, loose knot for a weekend lunch, each style lifts the hair off the neck and keeps the face open.
You will find polished buns for formal evenings, relaxed knots for everyday wear, and braided or twisted versions that add interest without extra effort. Every idea notes the hair type, length, and styling time it suits, so picking one for tomorrow takes seconds rather than a long scroll.
1. Classic Low Chignon
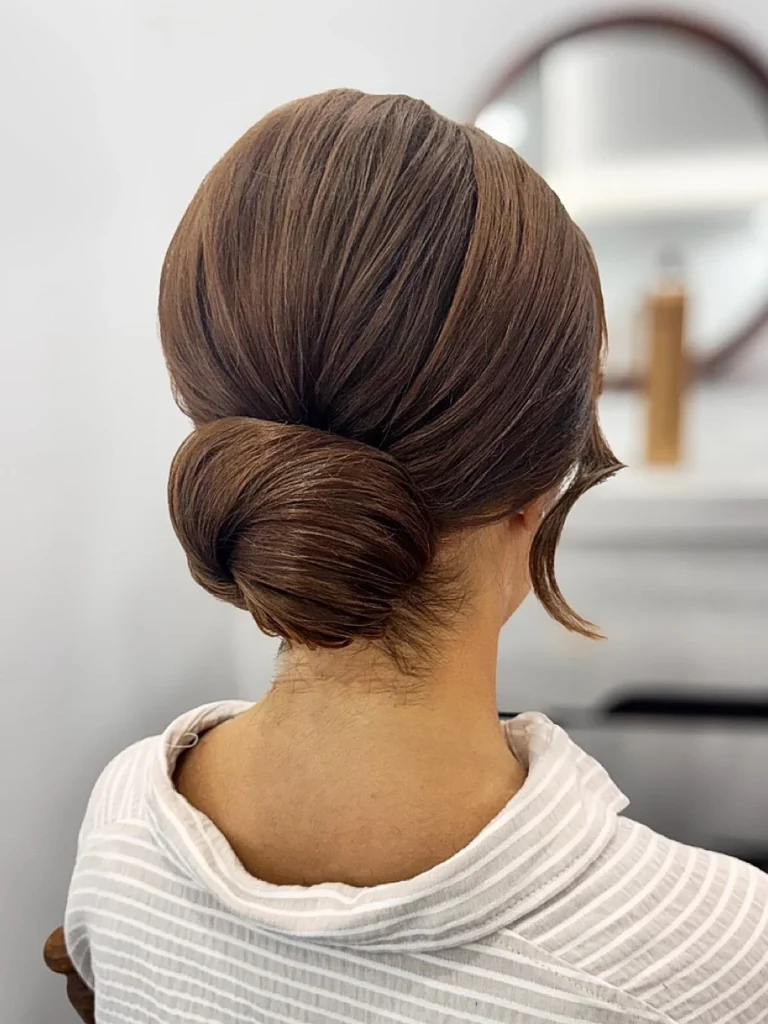
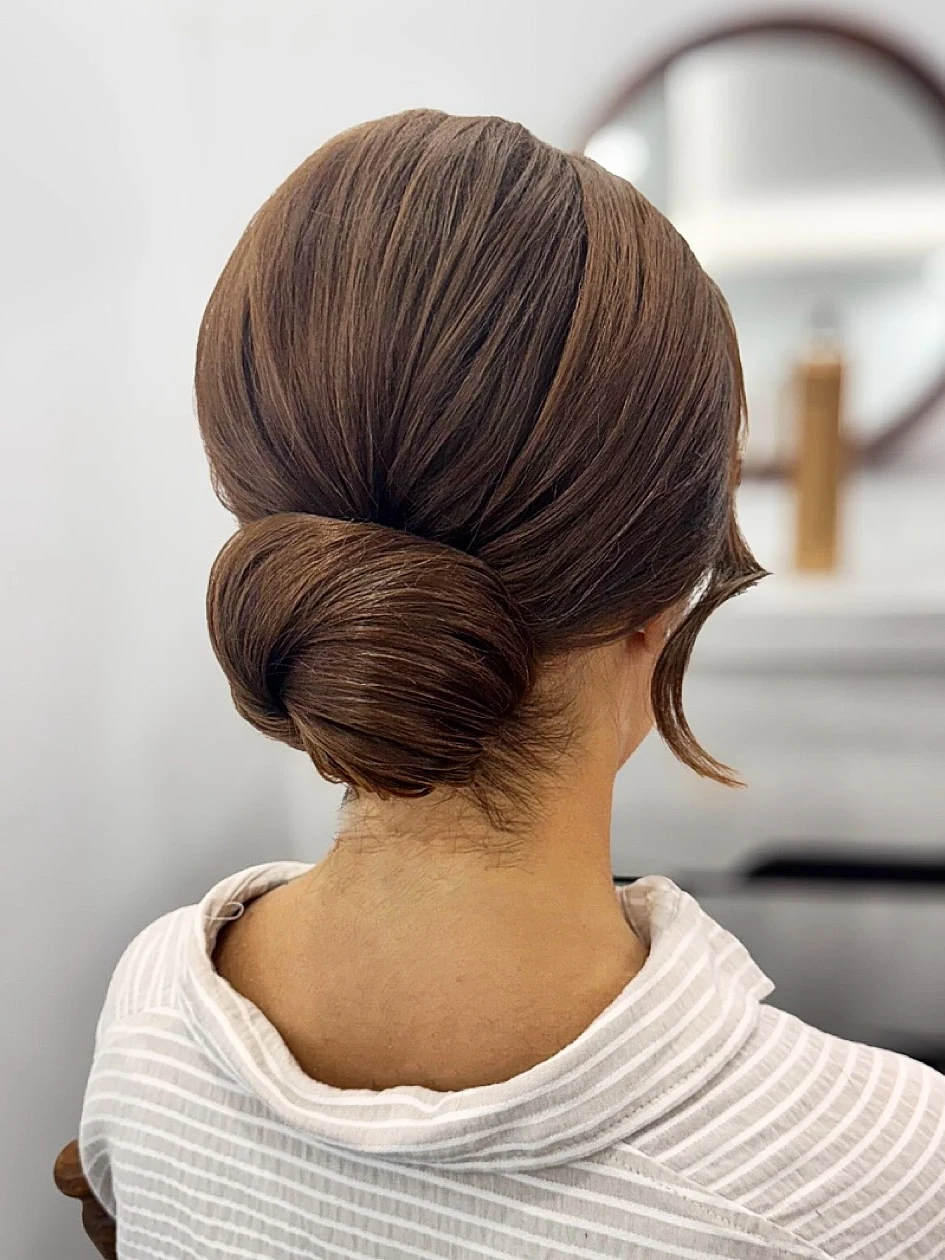
Gathered at the nape and rolled into a smooth, compact knot, the classic low chignon reads polished without looking stiff. Soft volume at the crown keeps it graceful, and a few loose strands near the temples stop it from feeling severe.
Medium to long hair holds this style best, and it suits straight or lightly waved textures with little product. It works for weddings, work dinners, and any occasion where a neat finish matters more than drama.
2. High Top Knot Bun
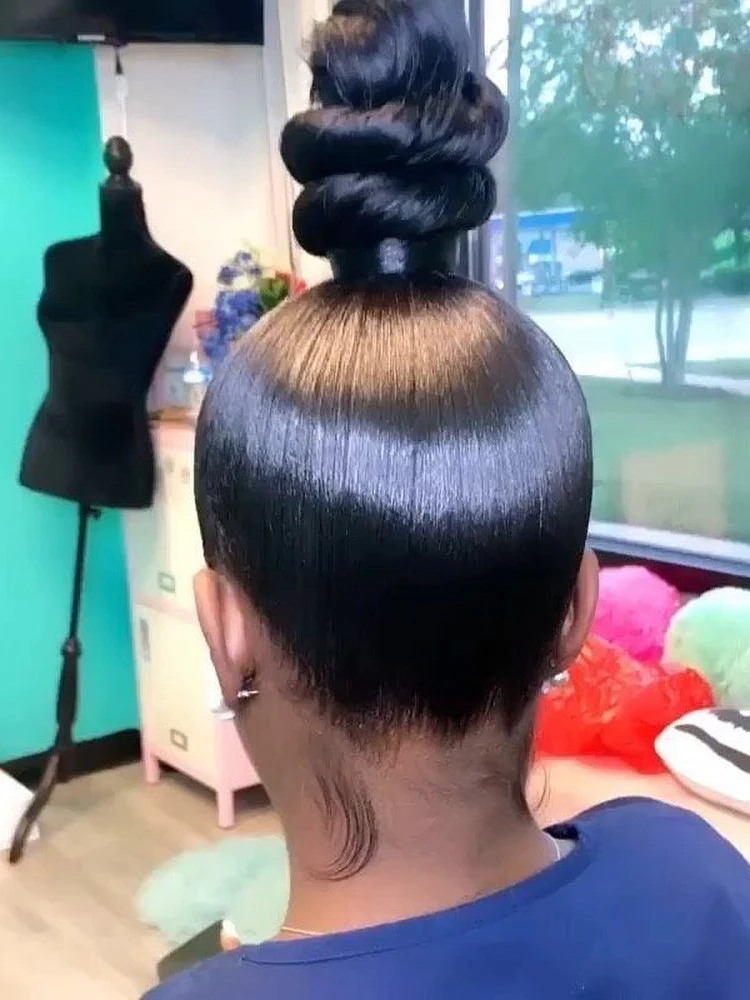
- Length: medium to long hair, past the shoulders for a full knot.
- Placement: high on the crown, slightly back from the hairline.
- Texture: works on straight, wavy, and thick hair.
- Tools: one strong elastic, two or three pins, light hairspray.
- Occasion: warm days, workouts done well, casual evenings out.
A high knot lifts the whole face and keeps hair completely off the neck, which makes it a summer favourite. Wrap the ends neatly for a polished version, or leave the ends loose for a softer, more relaxed finish.
3. Messy Textured Bun
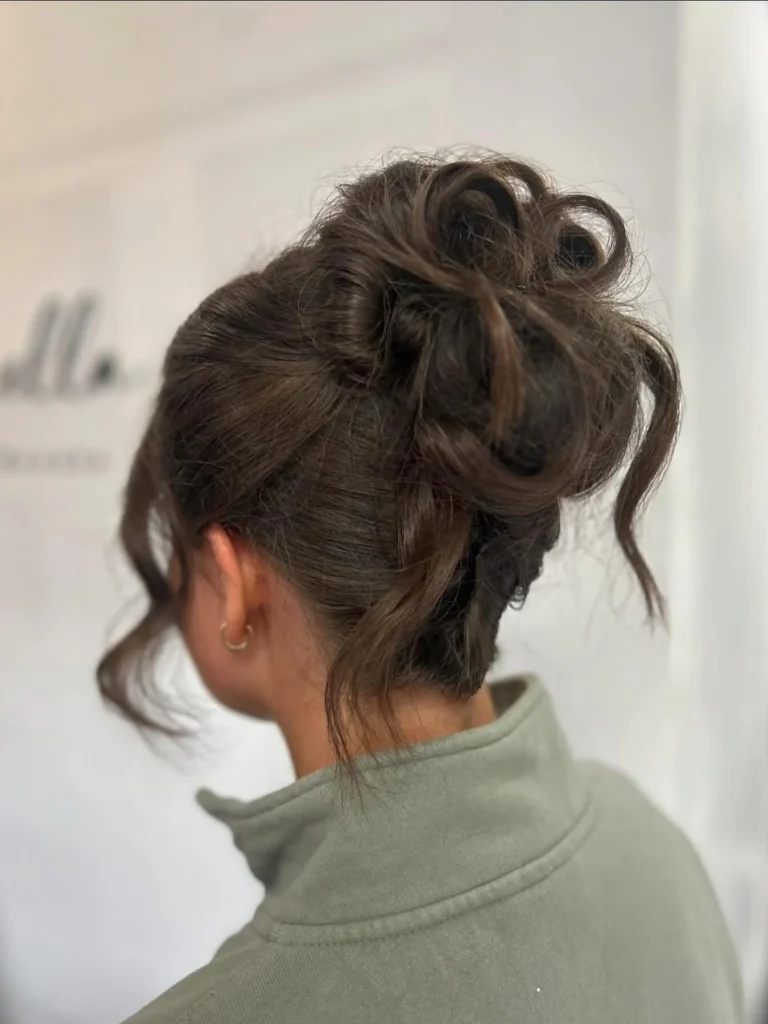
Quick Tip: Work with second day hair, or add a little dry shampoo at the roots before styling. Grip matters more than smoothness here, so skip the brush and gather the hair with your fingers for natural texture.
Loose pieces fall softly around the face while the knot itself stays full and airy rather than flat. The style suits medium length hair best and takes under five minutes once the finger gathering habit clicks.
4. Sleek Ballerina Bun
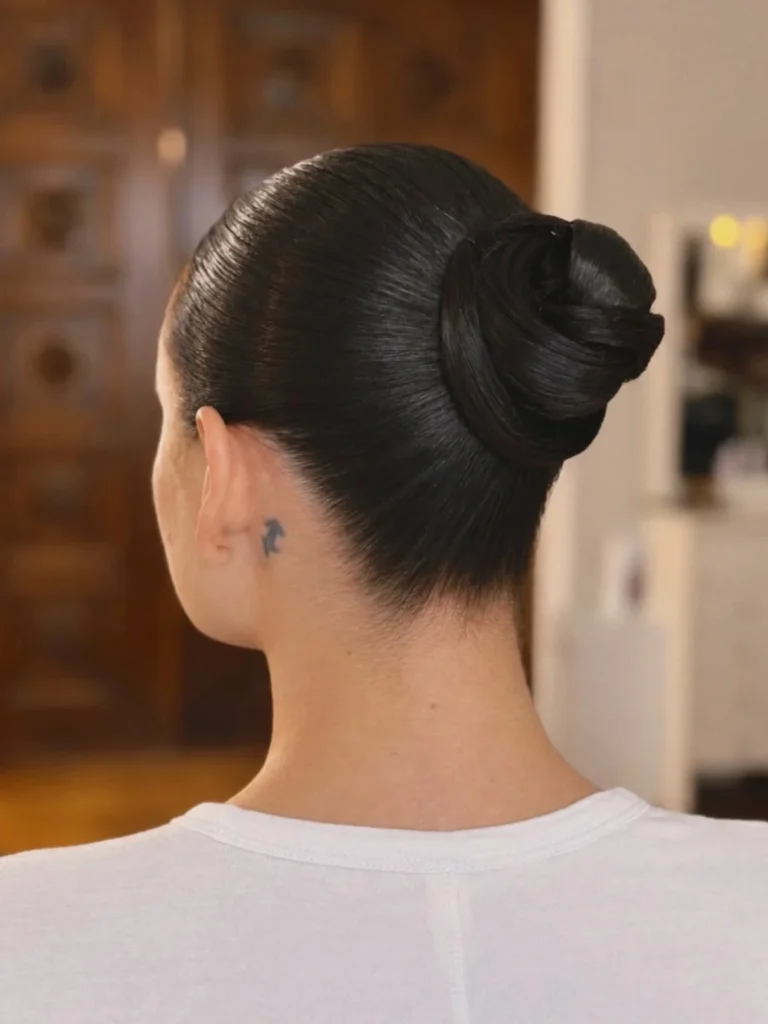
BEFORE: Flyaways and a soft, uneven part make a simple bun look unfinished, and smoothing products alone never quite hold the shape through a long day.
AFTER: Hair pulled smooth from every angle into a tight, centred knot gives a clean, confident line that lasts from morning until evening.
Brush the hair back with a little gel or smoothing cream, secure it high or low, then wrap and pin the ends flat. A fine tooth comb along the hairline keeps the finish sharp, and a light mist of strong hold spray locks it in.
For more occasion updos, see these elegant wedding guest hairstyles for women over 40.
5. French Twist Bun
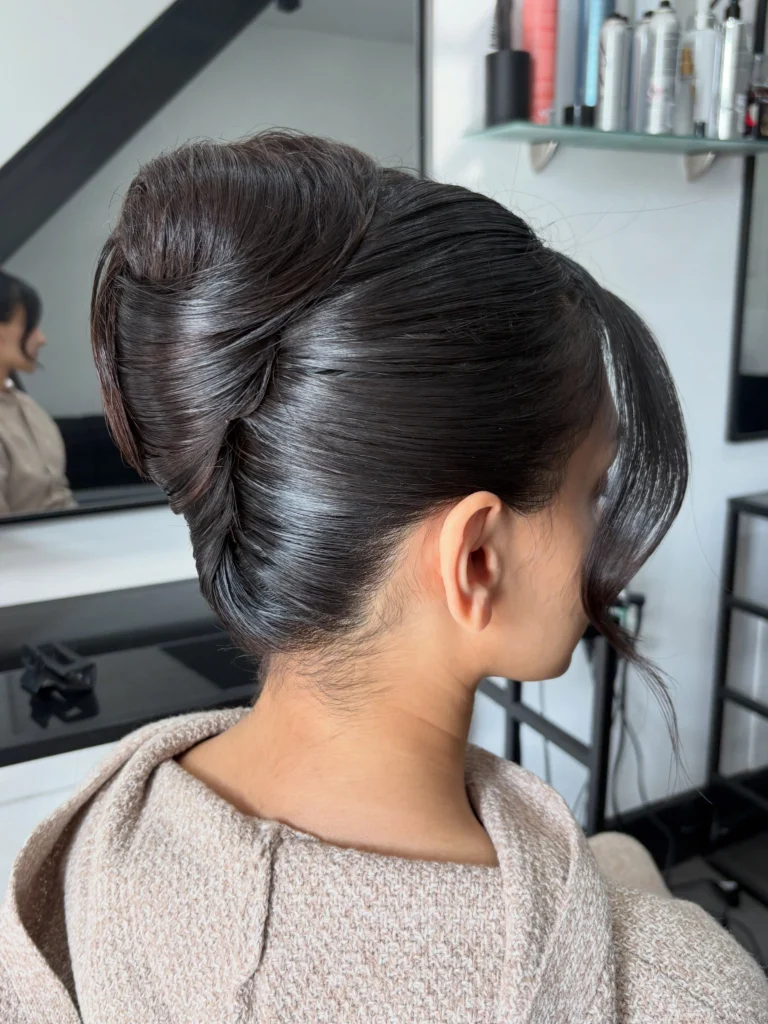
- Brush the hair smooth and sweep it all to one side.
- Roll the length upward against the head, tucking the ends inside the roll.
- Pin along the roll from bottom to top with strong hairpins.
- Ease a little height at the crown and smooth the sides.
A French twist suits medium to long hair and formal occasions, and it flatters longer necks and oval faces especially well. Practice the roll once at home, since the second attempt always sits neater than the first.
6. Braided Crown Bun
| Feature | Single Braid Wrap | Double Braid Wrap |
|---|---|---|
| Time needed | About 10 minutes | About 15 minutes |
| Best hair | Medium length, even layers | Long or thick hair |
| Finish | Soft and simple | Fuller, more detailed |
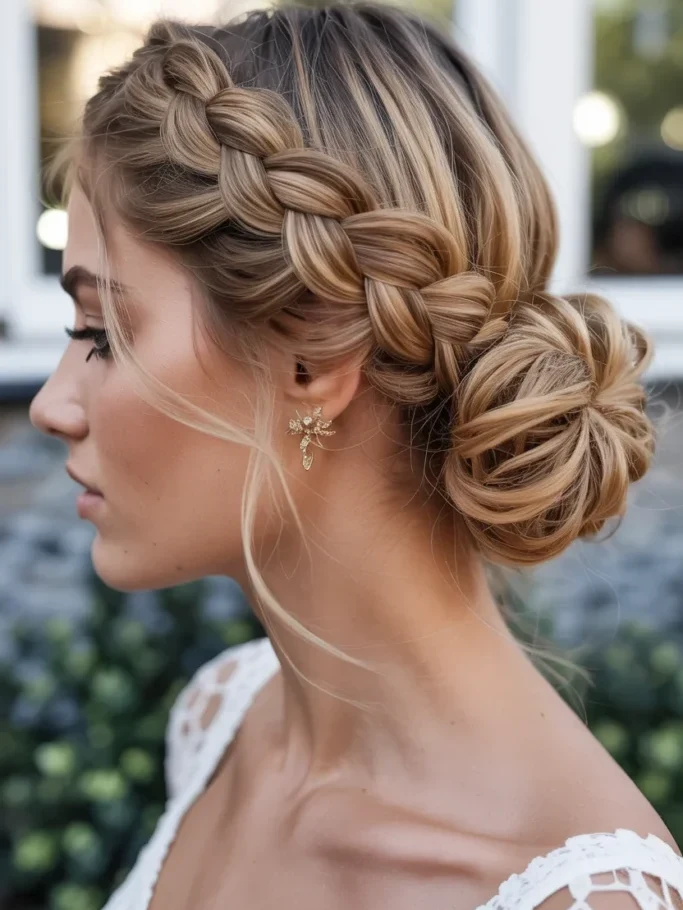
A braid wrapped around the base of a bun adds detail that reads far more elaborate than the effort involved. One braid keeps the look soft and simple, while two braids give a fuller crown that suits long or thick hair beautifully.
7. Side Swept Low Bun

DO:
- Part the hair deeply on one side before gathering.
- Sweep the length low across the nape to the opposite side.
- Leave two soft face framing pieces loose.
- Pin the knot firmly so it survives a long evening.
DON’T:
- Pull the sweep so tight that the part disappears.
- Place the bun too high, or the side sweep loses its shape.
- Skip pins on thick hair, since weight pulls the knot down.
- Add heavy accessories that fight the soft line.
A side swept bun follows the natural fall of the hair instead of forcing it straight back, which gives a gentler frame for the face. The deep part adds instant polish, and the low placement keeps the whole style comfortable for hours.
8. Voluminous Donut Bun
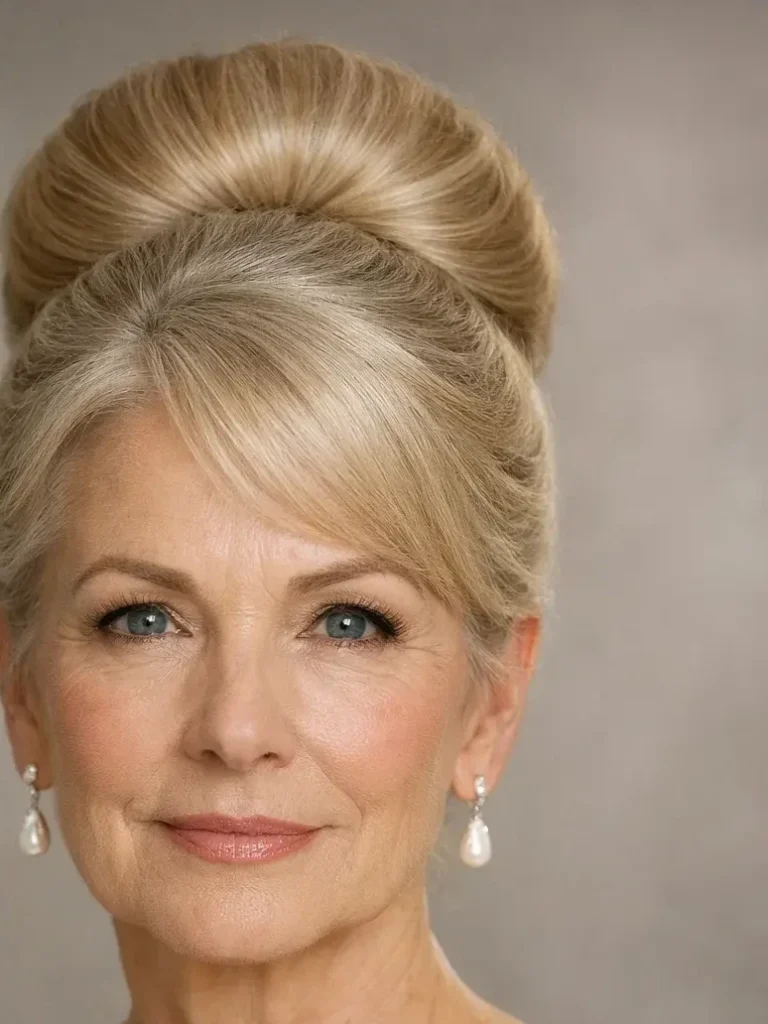
- Hair Length: medium to long, or use a donut form for shorter hair.
- Hair Type: fine hair gains the most from this style.
- Volume: a mesh donut form doubles the apparent size.
- Styling Time: about 5 minutes once the form is in place.
- Best Occasion: parties, photos, and evenings out.
A donut form turns even fine hair into a full, round bun with a smooth surface that photographs beautifully. Spread the hair evenly over the form and pin the ends underneath, then mist lightly so the shape holds without stiffness.
9. Half Up Top Knot
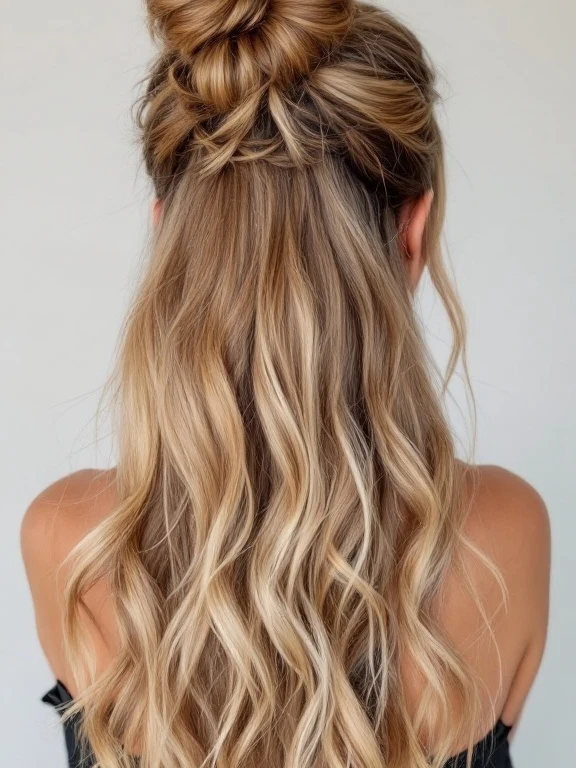
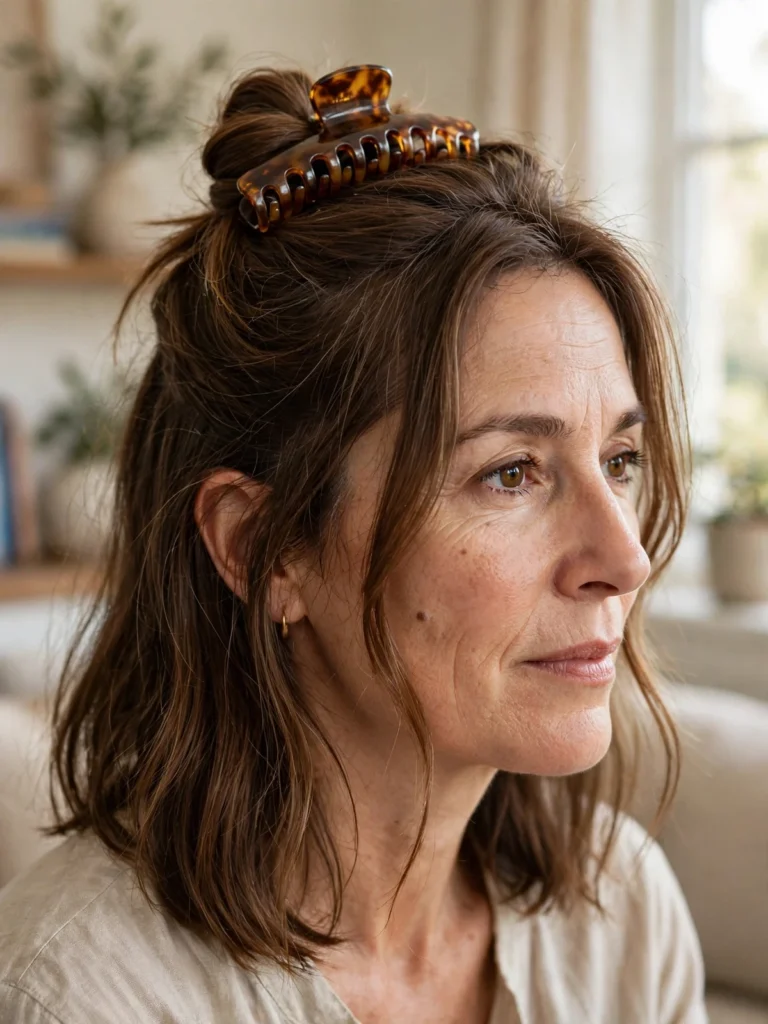
Gathering only the top half of the hair into a small knot leaves the rest flowing, which gives the lift of an updo with the softness of worn down hair. The knot sits high on the crown, and a little backcombing underneath adds height that lasts.
Shoulder length or longer hair works best, and wavy textures hold the knot with fewer pins. This style suits casual days, lunches, and anyone who likes their hair up but not fully away.
10. Twisted Rope Bun
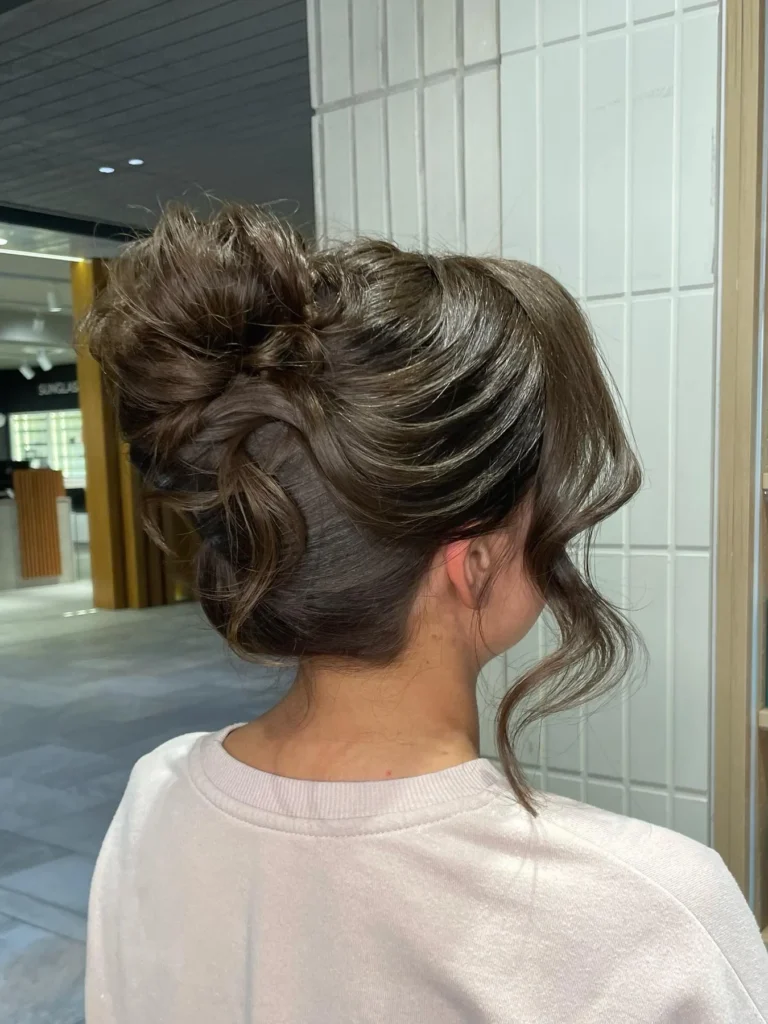
- Technique: divide the ponytail in two, twist each section, then twist them together.
- Hold: rope twists grip well and rarely need many pins.
- Texture: smooth hair shows the rope pattern most clearly.
- Length: medium to long hair for a full twist.
- Finish: wrap the rope into a low knot and pin the ends flat.
Twisting gives the bun a rope like pattern that catches the light and looks intricate from every angle. The style holds well through a long day, since twisted sections resist loosening better than a plain wrapped bun.
11. Elegant Gibson Tuck
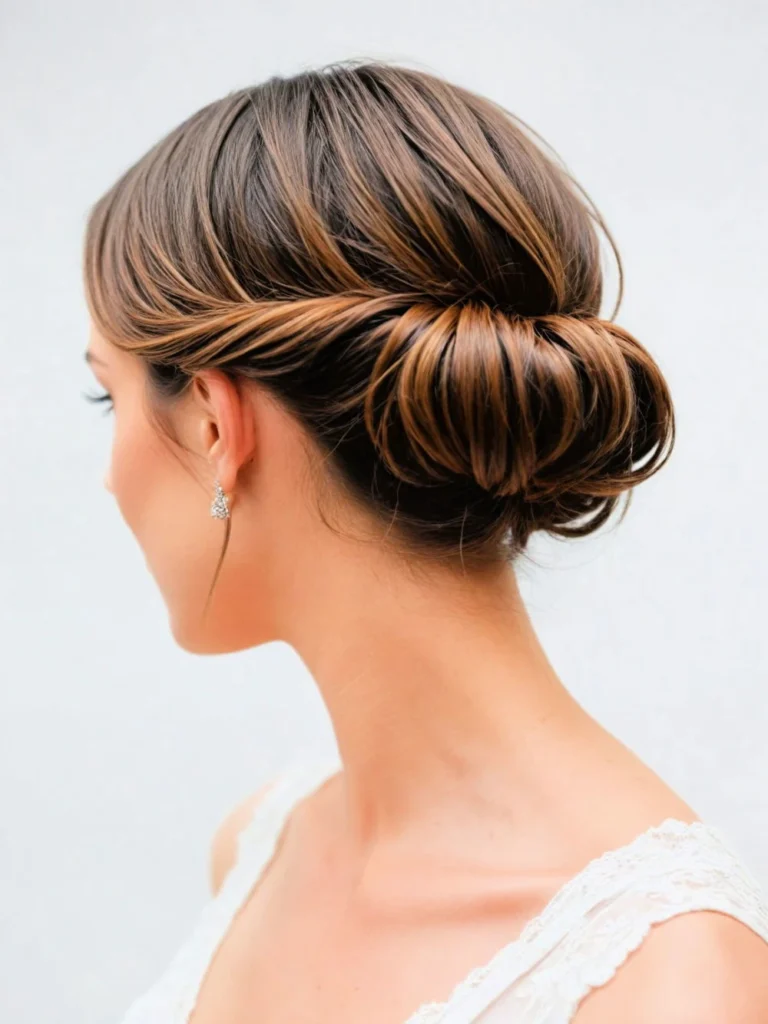
Quick Tip: Start with a low ponytail, then create a small pocket above the elastic and tuck the length up through it. Roll the remaining ends inward and pin flat, and the whole style forms in under five minutes.
The Gibson tuck creates a soft, rolled shape at the nape that looks like a chignon but needs no wrapping skill. It suits medium length hair and straight or wavy textures, and it stays comfortable because nothing pulls tightly at the crown.
For elegant evening versions, see these chic Christmas date night hairstyles for women over 40.
12. Low Bun with Face Framing
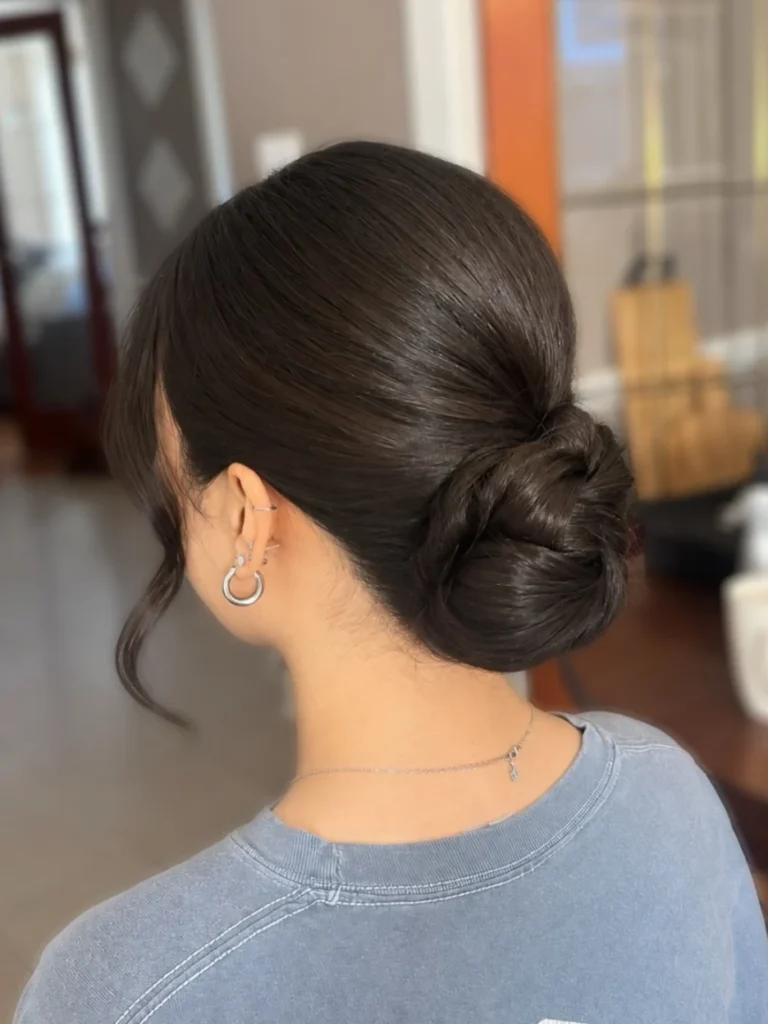
BEFORE: A bun pulled straight back can feel harsh, especially with a strong jawline or a high forehead, and the severity ages the whole look.
AFTER: Two soft pieces left loose at the front curve gently around the cheeks, and the same low bun suddenly looks relaxed, youthful, and far more flattering.
Pull the face framing pieces out before securing the knot, then curl them lightly away from the face. Keep them thin, since wide sections fall flat, and mist them lightly so they hold their curve all day.
13. Knotted Bun
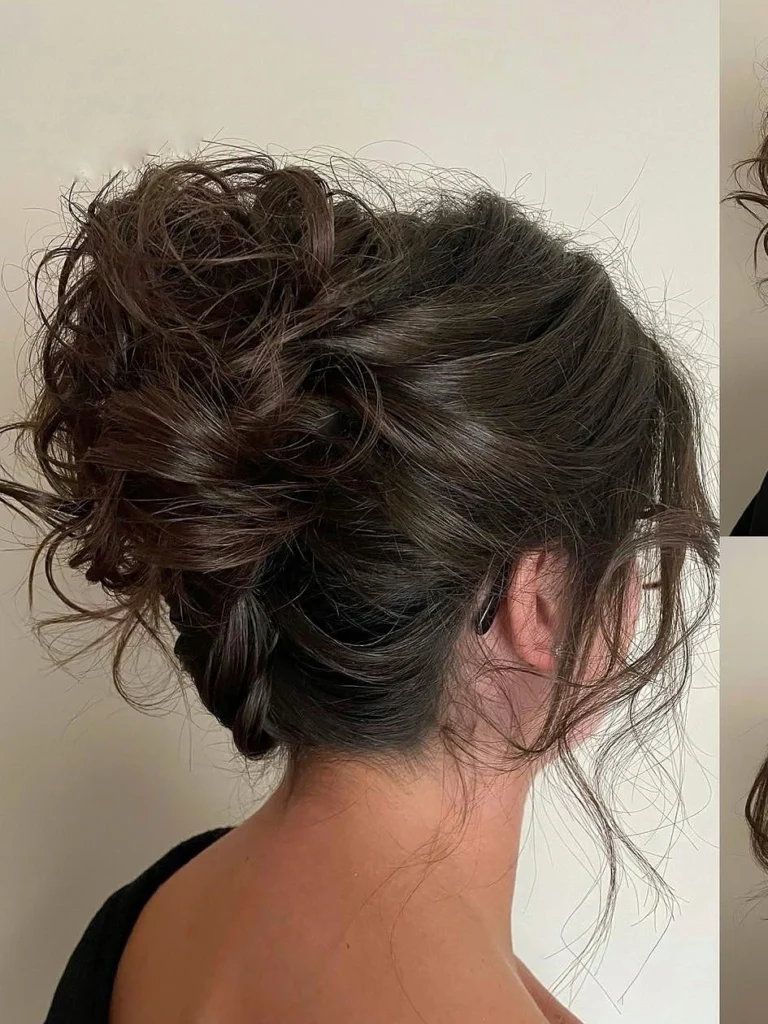
- Divide a low ponytail into two equal sections.
- Tie the sections together in a simple knot, just like tying a shoelace.
- Repeat with the remaining length if the hair is long.
- Tuck the ends under the knot and pin securely.
A knotted bun suits medium to long hair and anyone who struggles with wrapping, since the knot forms the shape by itself. The result looks modern and slightly casual, and it holds well on thick hair that slips out of plain wraps.
14. Chignon with Braided Wrap
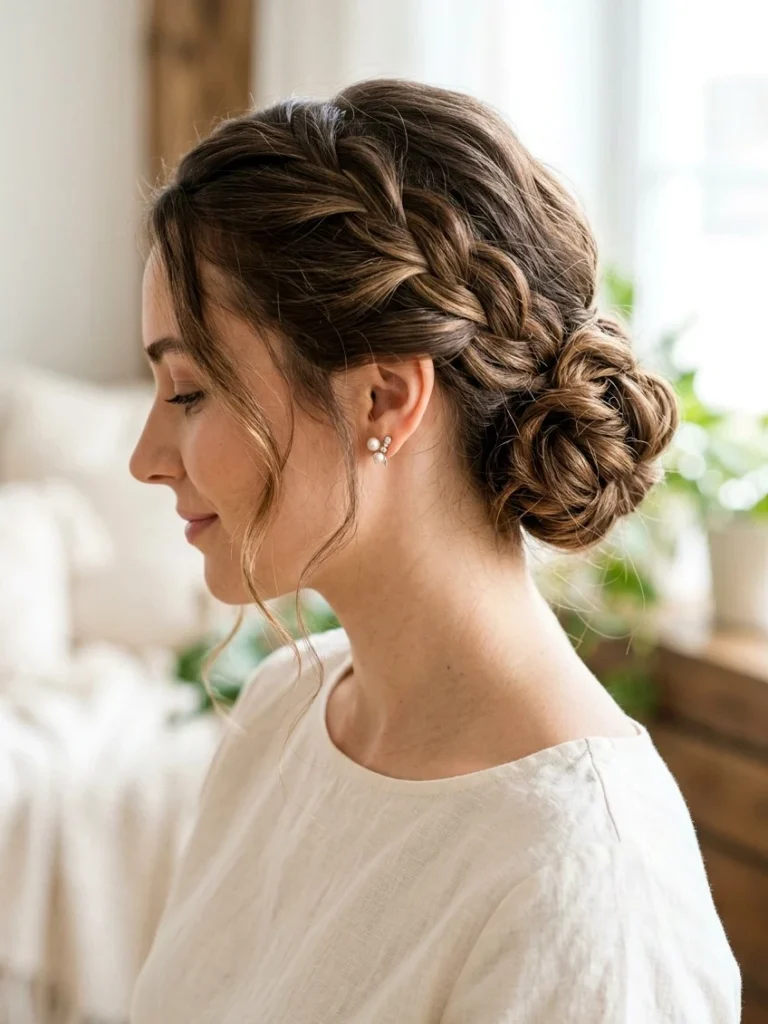
| Feature | Thin Braid Wrap | Chunky Braid Wrap |
|---|---|---|
| Look | Delicate, refined detail | Bold, textured statement |
| Time needed | About 12 minutes | About 18 minutes |
| Best for | Fine or medium hair | Thick or long hair |
A thin braid wrapped around a chignon adds quiet detail that suits fine hair, while a chunky braid makes a bolder statement on thick hair. Either way the braid hides the elastic and gives the bun a finished edge that needs no extra accessory.
15. Bubble Braid Bun
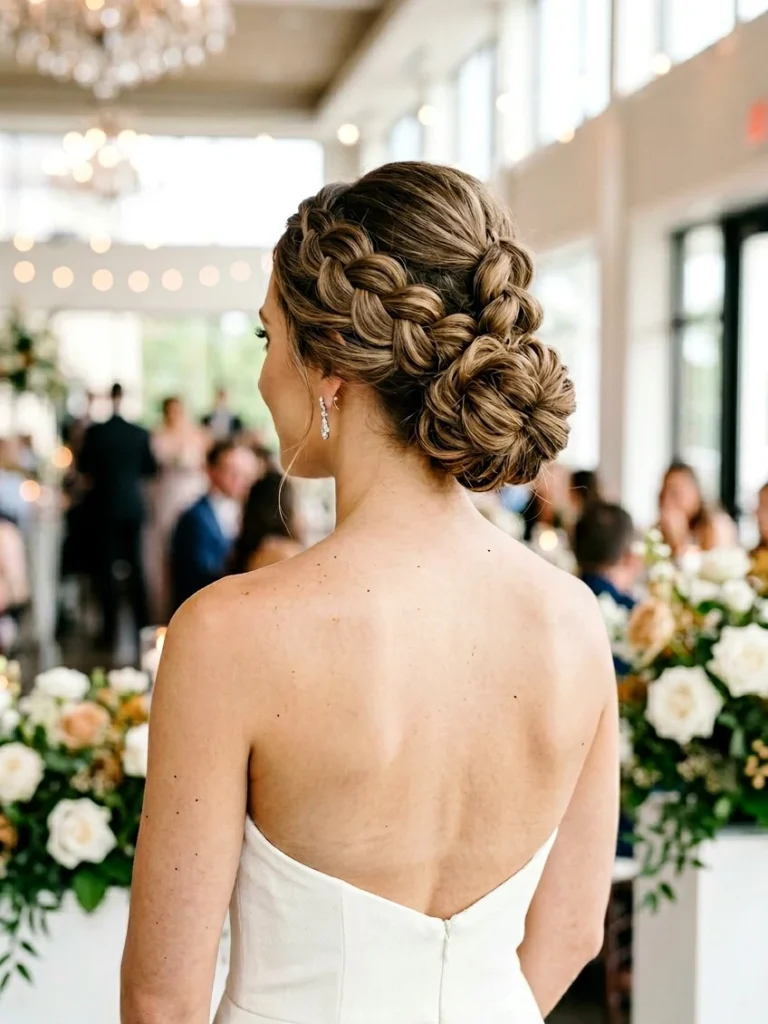
DO:
- Use small clear elastics spaced evenly down the ponytail.
- Gently pull each section wider to form the bubbles.
- Keep the bubbles similar in size for a tidy finish.
- Wrap the bubbled length into a low bun and pin flat.
DON’T:
- Pull the bubbles so wide that the elastic shows.
- Start with slippery, freshly washed hair.
- Place the bun too high, or the bubbles lose their shape.
- Skip a light spray, since bubbles soften through the day.
Bubble sections give a playful texture that still reads elegant when the bubbles stay even and the bun sits low. The style works best on long hair, where several bubbles form a full, eye catching shape.
16. Vintage Victory Bun
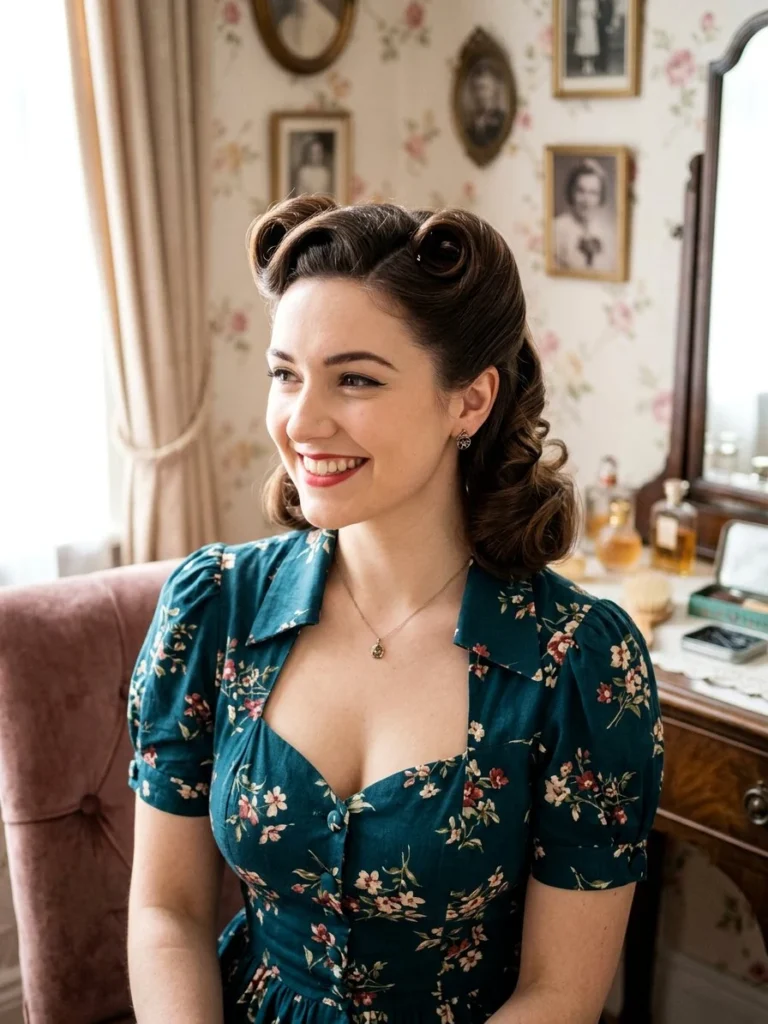
- Hair Length: medium to long hair for a full roll.
- Hair Type: smooth, straight hair shows the roll best.
- Styling Time: about 15 minutes with practice.
- Skill Level: medium, easier after two or three tries.
- Best Occasion: themed parties and retro evenings.
A victory roll swept up into a bun brings old Hollywood glamour to a modern evening look. Roll one front section upward, pin it firmly, then gather the rest into a low bun so the roll stays the star of the style.
17. Sleek Middle Part Bun
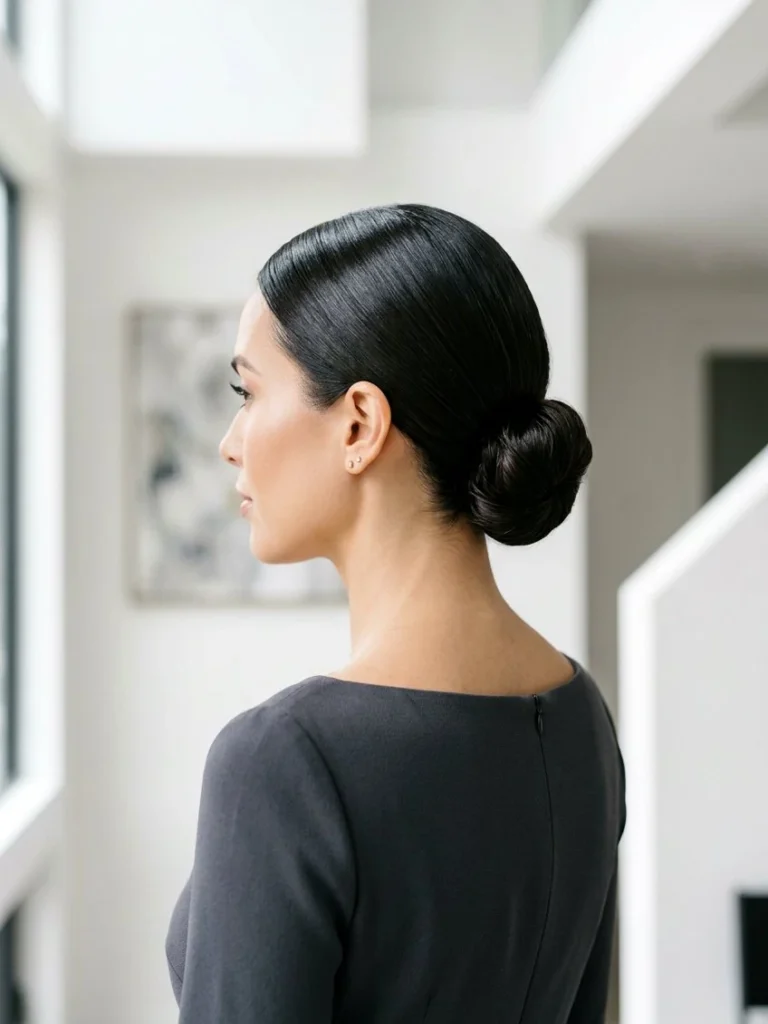
A centre part with hair smoothed flat on both sides into a low knot gives a calm, symmetrical frame that suits oval and heart shaped faces. The middle part keeps the look modern, while the sleek finish adds a quiet confidence that needs no decoration.
Straight or lightly waved hair holds this style best, and a little smoothing serum controls flyaways without stiffness. It works for work, formal lunches, and any day when a tidy finish matters.
18. Curly Pineapple Bun
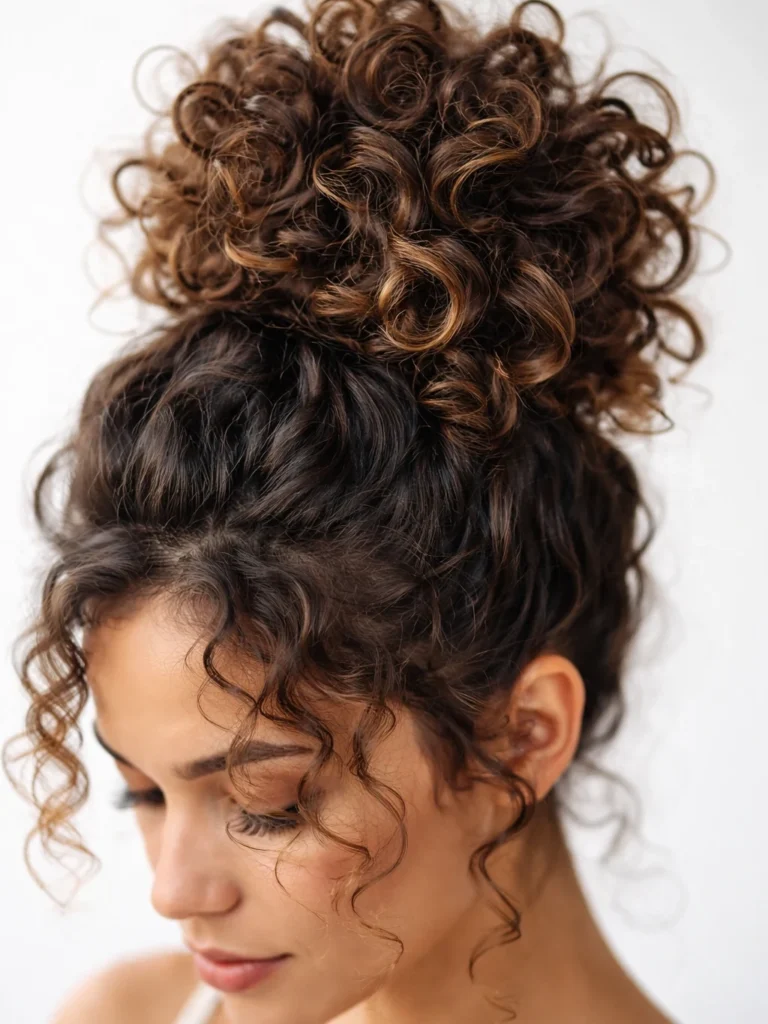
- Length: medium to long curly hair.
- Placement: high on the crown, loose rather than tight.
- Texture: natural curls give the bun its full shape.
- Tools: a soft scrunchie, no brush, a little curl cream.
- Maintenance: refreshes well on second day curls.
Gathering curls loosely on top lets the curl pattern stay open and full instead of being pressed flat. The high placement keeps curls off the neck, and a soft scrunchie protects the curl shape far better than a tight elastic.
19. Low Bun with Hair Scarf
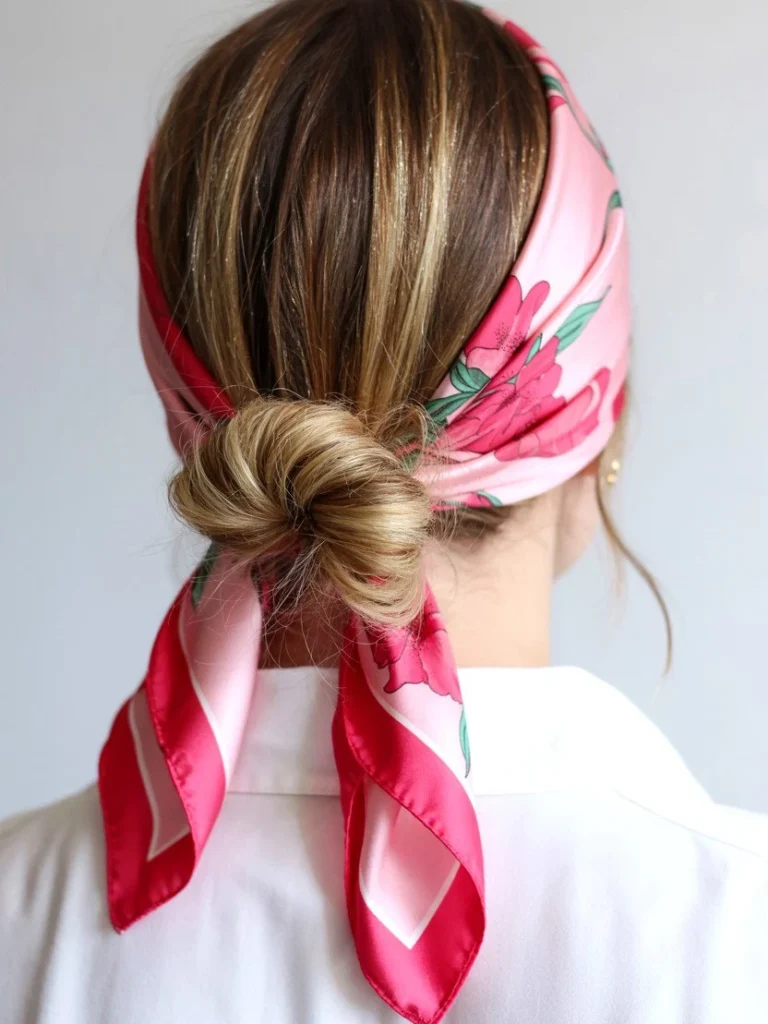
Quick Tip: Fold a silk scarf into a narrow band and wrap it around the base of a low bun, tying it underneath. The scarf hides the elastic, adds colour, and keeps the whole style looking finished with almost no extra effort.
A scarf bun suits every hair type and turns a simple knot into a styled look in under a minute. Pick a scarf that echoes one colour in the outfit, and keep the knot itself smooth so the scarf stays the focal point.
20. Double Twist Bun

BEFORE: A plain bun on thick hair often slides loose by midday, since one twist cannot hold the full weight evenly.
AFTER: Two twists crossed and pinned together share the weight, and the bun stays put through a long day while showing a woven pattern at the back.
Twist each side section toward the centre, cross them at the nape, then wrap the ends into a low knot. Pin where the twists cross first, since that anchor point carries the whole style.
21. Relaxed Weekend Bun
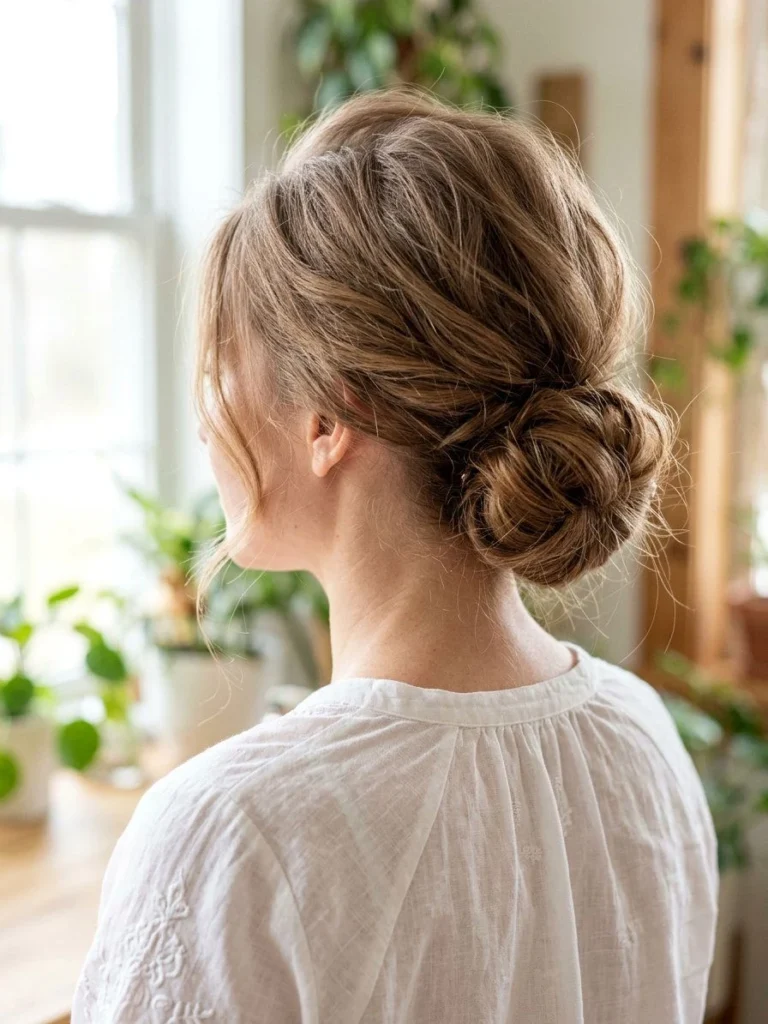
- Gather the hair loosely at the nape with your fingers, not a brush.
- Twist it once and wrap it into a soft, low knot.
- Pin only where needed, leaving the shape slightly uneven.
- Pull a few strands loose around the face and ears.
A relaxed bun suits weekends, errands, and quiet days at home, and it works on every hair type because perfection is not the point. The soft, uneven shape looks intentional when the hair itself is healthy and the loose pieces stay thin.
22. Pearl Pinned Bridal Bun
| Feature | Scattered Pearl Pins | Pearl Comb |
|---|---|---|
| Look | Soft sparkle through the bun | One clear focal point |
| Best for | Low chignons and twists | Sleek smooth buns |
| Time needed | A few minutes to place | Seconds to slide in |
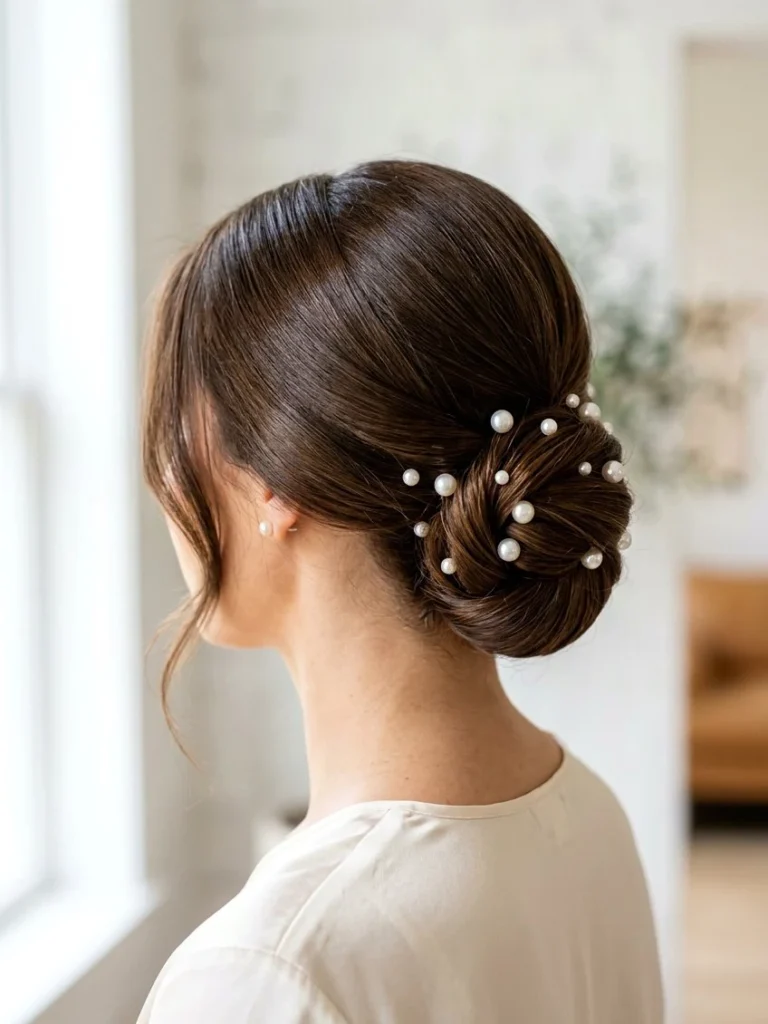
Pearl pins scattered through a low bun catch the light with every turn of the head, while a single pearl comb gives one clear focal point on a sleek style. Both suit weddings and formal evenings, and both lift a simple bun without changing the hairstyle itself.
23. Soft Wavy Bun
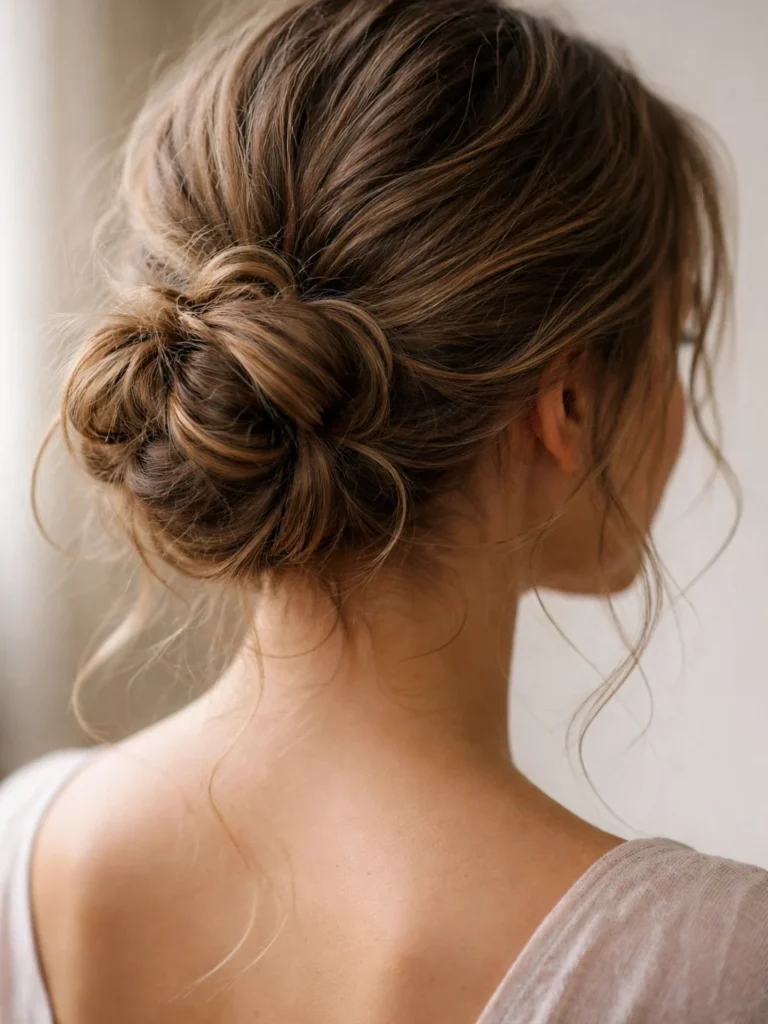
DO:
- Curl the hair loosely before gathering for built in softness.
- Keep the knot itself loose so waves stay visible.
- Leave the ends slightly free instead of tucking them all in.
- Mist with flexible hold spray, not a stiff one.
DON’T:
- Brush the waves out before styling.
- Pull the bun tight, or the waves flatten.
- Add heavy pins that drag the shape down.
- Overdo product, since wavy hair needs movement.
Waves gathered into a loose bun keep their movement instead of being smoothed away, which gives a romantic finish that suits evenings and celebrations. The key is a light hand: gather, twist once, pin, and let the waves do the rest.
Bun Styling Tips That Keep Updos Comfortable All Day
Start with hair that has a little grip, since freshly washed hair slips out of pins faster. A little dry shampoo or texturising spray at the roots gives pins something to hold without changing how the hair looks.
Place pins with the wavy side against the head and cross two pins where the bun feels heavy, since crossed pins anchor far better than parallel ones. If a bun aches after an hour, it sits too tight: lower it slightly and the headache usually fades.
Conclusion
These bun hairstyles for women over 40 show that one simple shape can cover nearly every occasion, from a polished chignon to a soft weekend knot. Pick the version that matches the hair length and the day ahead, and keep the finish comfortable rather than forced.
Save this article on Pinterest before the next occasion, and try the style that caught the eye first. A bun rewards a light hand and good pins, and once the favourite version clicks, it becomes the fastest elegant hairstyle in the routine.
FAQs
Can women over 40 wear a bun every day without damaging hair?
Yes, when the bun stays loose and the placement changes from day to day. Tight, high knots in the same spot strain the hairline over time, so vary between low and high buns, use soft scrunchies, and never sleep with a tight elastic in place.
What is the best bun for thin hair?
A donut form bun or a gently backcombed low chignon works best, since both add fullness without teasing the whole head. Keep the bun low and slightly loose, and avoid heavy accessories that pull thin hair flat or drag the knot downward.
How do I make a bun stay in place all day?
Start with hair that has grip, use crossed pins at the anchor points, and finish with a light mist of flexible hold spray. Thick hair needs more pins than fine hair, and placing the bun slightly lower usually holds longer than a very high knot.
Should I choose a high bun or a low bun for my face shape?
Low buns flatter most face shapes and soften strong features, while high buns suit oval and heart shaped faces best. Round faces benefit from a little crown height with a low bun, and long faces look balanced with width at the sides rather than height on top.
How can a messy bun look elegant instead of undone?
Keep the mess deliberate: a smooth hairline, two thin face framing pieces, and a full knot shape stop the style from reading as accidental. The difference sits in the edges, so smooth the crown and parting even while the knot itself stays soft and loose.